
South Park Characters: From a Reference Image to a Scene Idea
Use 12 illustrated South Park character profiles to plan clearer cartoon scenes, preserve visual identity, and separate character references from episode imagery.

To build a readable cartoon scene, establish the character before adding movement. South Park characters show how much a still image can communicate through a hat, a coat, and a simple outline. The visual identity needs to survive a change of pose or camera distance; otherwise, movement only makes an unclear design harder to follow. For a scene idea, try South Park Character Creator.
This gallery draws on the South Park Public Library for character identification and scene planning. Each note separates what is visible from a possible creative use, so you can study the cast without confusing reference material with finished work.
Four portraits, four different starting points
Stan Marsh

Stan's blue-and-red cap remains the strongest marker above his brown jacket. In a planned medium shot, leave the pom-pom and red band visible. A scene brief can then focus on a simple action, such as looking toward another figure, without asking the costume to change at the same time.
Kyle Broflovski

Kyle's green earflap hat has a wider contour than Stan's cap. His orange jacket adds a second identification cue beneath the face. A sideward turn may hide one flap, so the coat color becomes more useful when you consider how the portrait could read from a different angle.
Kenny McCormick
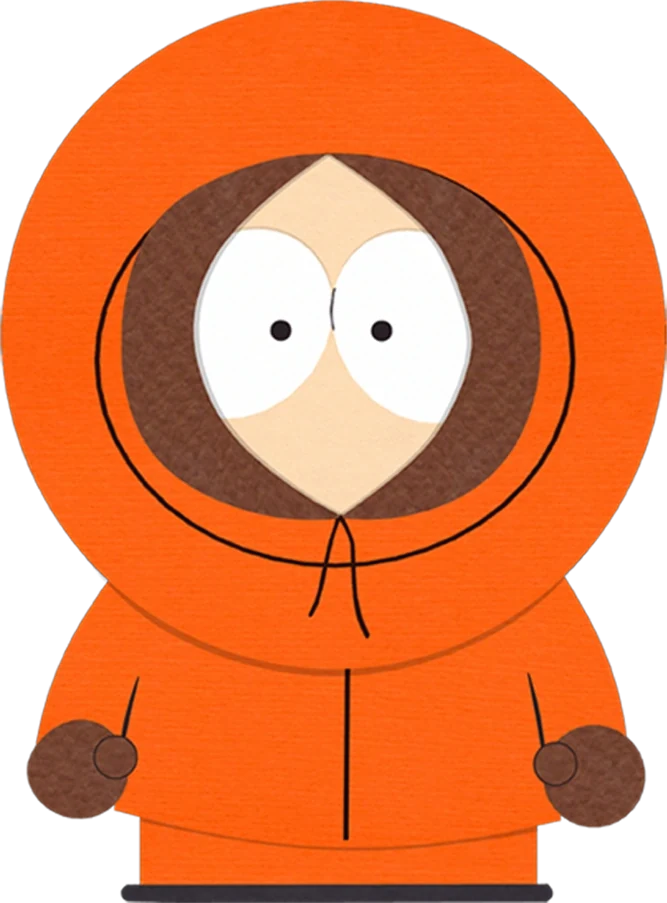
Kenny's hood encloses most of his face, leaving the eyes inside a dark opening. That makes the complete hood shape important in a scene. If a planned action depends on subtle mouth movement, this reference is a reminder to choose a gesture or framing that the viewer can actually see.
Eric Cartman

Cartman's wide red coat and yellow mittens occupy much of the portrait. The shape is useful when planning a group arrangement because it changes how much space the figure needs. Keep the turquoise cap in view, and avoid squeezing the body into the same narrow slot as Stan or Kyle.
Hair and costume can carry continuity
Butters Stotch

Butters' small blond hair tuft and turquoise shirt offer two simple continuity checks. If either becomes elaborate in a later image, the design has shifted. For a storyboard, note the number and direction of the prominent hair points rather than adding a long description of every edge.
Tweek Tweak

Tweek's outward-pointing hair produces a more restless outline than Butters' compact tuft. His olive shirt has a visibly uneven closure. These are useful visual anchors, but a still portrait alone does not prove how he moves. Keep any proposed animation choices clearly separate from image observations.
Craig Tucker

Craig's blue coat connects closely with his blue earflap hat, and the yellow pom-pom adds a small contrast. A storyboard silhouette should keep the hanging flaps distinct from the shoulders. If the hat merges with the coat, the overall shape becomes less informative despite retaining the right colors.
Wendy Testaburger

Wendy's pink beret and long dark hair form a recognizable upper outline. The purple coat continues the figure below. When planning a turn, record the hair length and the beret separately; changing both between images could make the shot feel like a different character rather than a new pose.
Plan the frame around the whole person
Tolkien Black

Tolkien's yellow T stands against his purple shirt, while dark hair frames the upper face. A wider shot may lose the letter before it loses the shirt color. Use the larger features for continuity at a distance, and reserve small clothing details for closer framing where they remain readable.
Jimmy Valmer

Jimmy's crutches extend beside the yellow shirt and below the hands. They belong to the figure's full spatial arrangement. A scene plan should allow room for the supports and describe a feasible action, rather than treating them as decorative objects that can appear or disappear between shots.
Timmy Burch
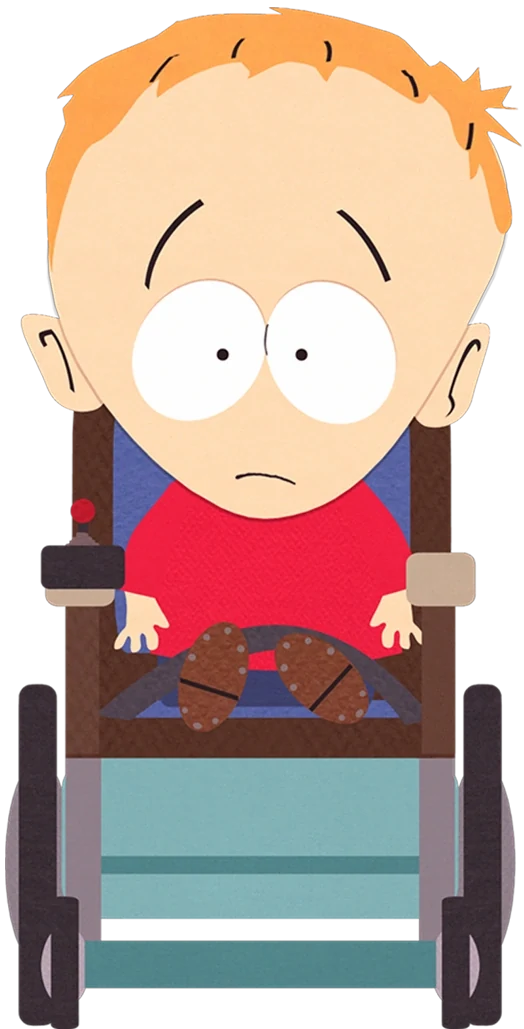
Timmy is pictured seated in his wheelchair, with the red shirt above its blue-green lower section. The wheels and handles affect the silhouette. Establish their positions in the reference notes so a storyboard can keep the seated posture and chair consistent through changes in camera distance.
Randy Marsh

This Randy portrait uses a farmer costume: brimmed hat, plaid shirt, dark outer layer, and gray trousers. His mustache remains visible, but the outfit belongs to this particular reference. A scene brief should say “farmer outfit” if it uses this image, rather than assuming a generic Randy costume.
Write a scene brief in two passes
The first pass defines the subject. For an original character, record age range, main clothing color, head shape, and one accessory. The second pass defines the shot: setting, camera distance, action, and the part of the body that must remain visible. Separating these decisions makes the brief easier to review and revise.
An example could be an original small-town student with a teal bicycle helmet and gray coat, standing beside a school gate. The first shot shows the whole figure; the next moves closer as the student notices a dropped notebook. Its value is that the action has one readable change and a clear object of attention.
If you are using a South Park character creator to plan a still reference, save that image before developing movement. A South Park character maker can help establish a look, but a new shot still needs a continuity review. Check whether the main accessory, proportions, and color blocks agree with the reference. Review each result on its own merits rather than assuming consistency from a shared prompt.
Start from the homepage to develop a visual idea, or explore other planning topics in the blog. Available models and settings determine what you can generate; this gallery explains reference choices rather than promising a dedicated cast-animation feature. Choose a setting and a reason for the character to be there when you try South Park Character Creator.
Keep the action visible
Before developing a shot, describe its main change in one sentence. “The student notices a notebook on the pavement” is readable because it connects a person, an object, and a response. “The student walks, waves, spins, and changes expression as the camera moves” asks the viewer to follow several changes at once. A limited action gives you a clearer starting point.
Return to the character reference while planning that change. If a scarf is the defining accessory, keep it visible when the student bends toward the notebook. If the face is partly hidden, show the response through the head angle or body position. Choose a camera distance that includes the information the action needs. A close portrait may be attractive, but it cannot explain an object on the ground unless the next frame introduces that object clearly. Let the scene's meaning determine the framing.
Where World of Warcraft changes the subject
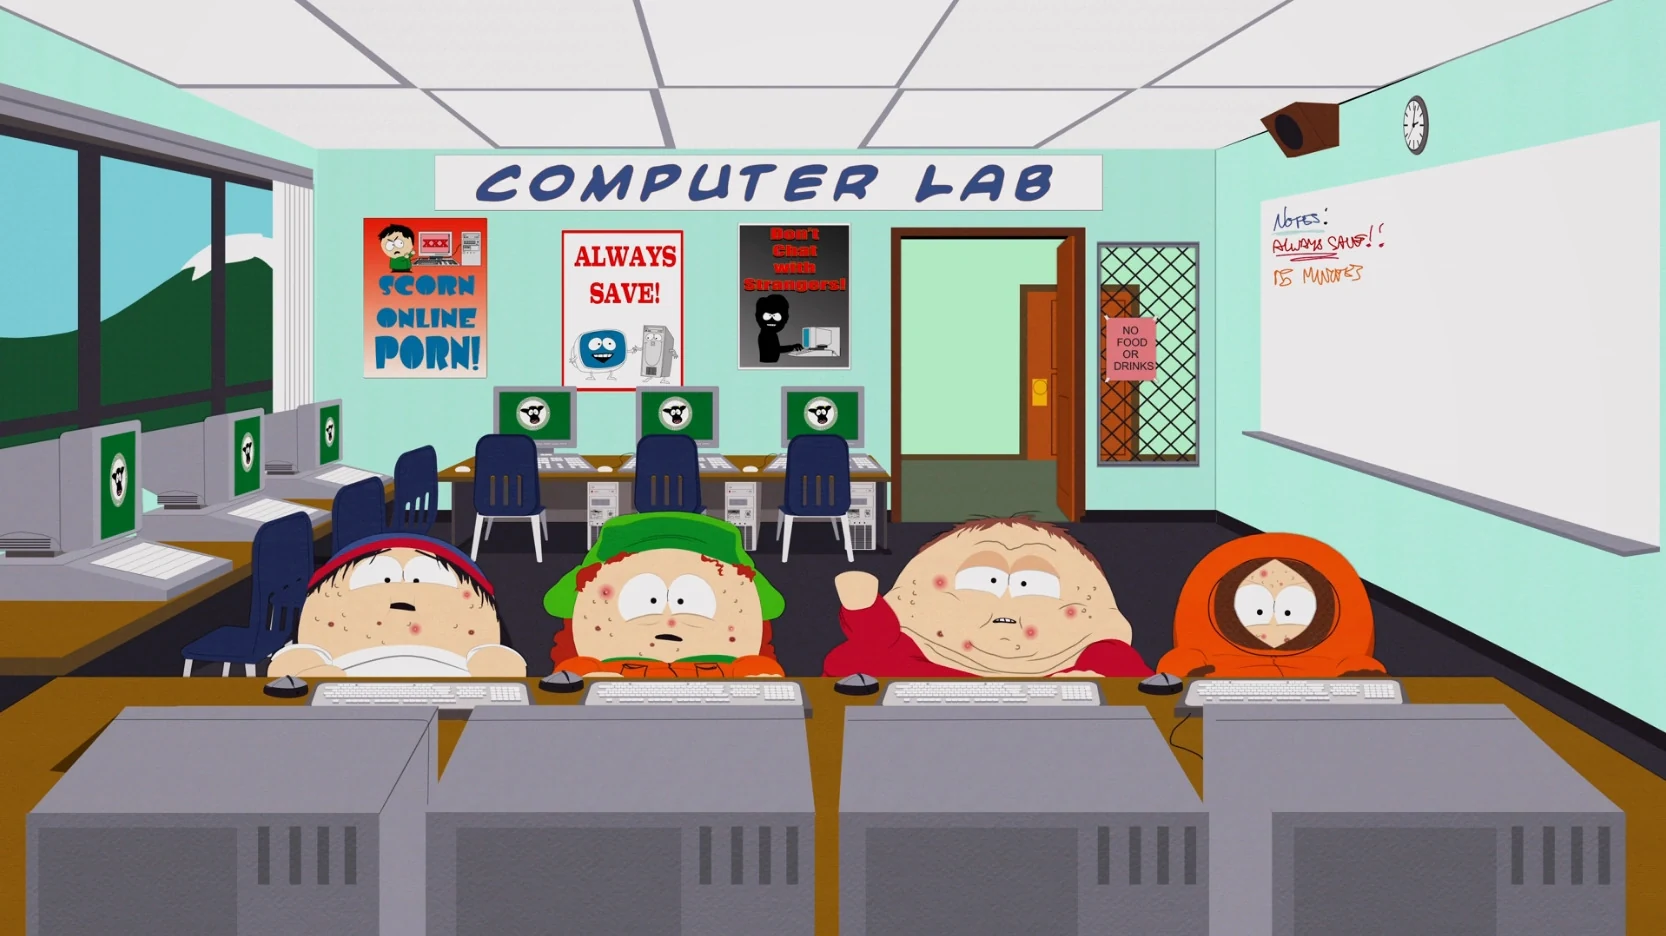
South Park World of Warcraft refers to Make Love, Not Warcraft, where the boys pursue a powerful player who keeps killing their game characters. Cartman proposes a plan to raise the group's strength, and the effort becomes an obsessive shared activity. The episode places recognizable characters in a new visual context.
The computer-lab frame shows that change clearly. The boys' bodies and faces differ from the earlier portraits, while Kyle's green hat, Kenny's orange hood, and Stan's blue-and-red cap remain useful identity anchors. Cartman wears red without his usual cap. The room and computers explain the activity around them.
For a South Park maker scene, use this as a lesson in context: preserve enough identity cues for the viewer while making the new setting readable. An ordinary Cartman South Park portrait supplies costume information; an episode frame adds setting and a particular appearance. To develop a scene idea, try South Park Character Creator.